Understanding Fire Safety Fundamentals
The Fire Triangle: Understanding the Basics
Every successful fire requires three elements in perfect balance: heat, fuel, and oxygen. Think of it like baking a cake: you need the right ingredients in the right proportions. Too much of one element and your fire either won’t start or will quickly get out of control.
Essential Fire Safety Equipment
Before striking that first match, gather these non-negotiable items:
- A bucket of water (or fire extinguisher)
- A shovel or trowel
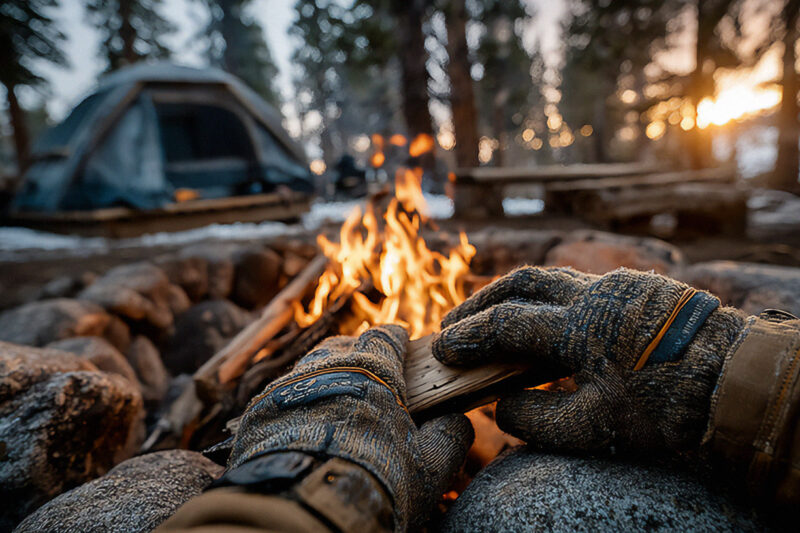
- Work gloves
- A metal container for ash disposal
Legal and Environmental Considerations
I’ll never forget the summer when a nearby camper started an illegal fire during a burn ban. The resulting fine and lecture from the ranger could have been avoided. Always check local fire restrictions and weather conditions before considering a fire.
Selecting the Perfect Fire Location
Established Fire Rings vs. New Locations
When possible, use existing fire rings. They’re designed to contain fires and minimize environmental impact. If you must create a new fire site, choose a spot at least 15 feet from tents, trees, and overhanging branches.
Preparing Your Fire Site
- Clear a 10-foot diameter area down to bare soil
- Circle the area with rocks if no fire ring is present
- Keep your tent, gear, and firewood upwind
- Remove all flammable materials from the surrounding area
Gathering and Preparing Firewood
The Three Types of Firewood You’ll Need
- Tinder: Dry leaves, grass, or birch bark (pencil-lead thick)
- Kindling: Small sticks and twigs (pencil to thumb thickness)
- Fuel: Larger logs (wrist to arm thickness)
Responsible Wood Collection
During a trip to Yosemite with my son, I learned that collecting dead and downed wood within the park is illegal. Always check local regulations—some areas require you to bring your own firewood to prevent the spread of invasive species.
Building Your Campfire: Step by Step
The Teepee Method (Best for Cooking)
- Place a generous bundle of tinder in the center
- Arrange kindling in a teepee shape around the tinder
- Leave an opening on the windward side for lighting
- Gradually add larger pieces as the fire grows
The Log Cabin Method (Best for Long-Lasting Fires)
- Place two larger logs parallel to each other
- Add a layer of tinder between them
- Place two more logs perpendicular on top to form a square
- Alternate directions with each layer
- Light the tinder in multiple places
The Lean-To Method (Best for Windy Conditions)
- Place a large log on the ground as a windbreak
- Place tinder against the log
- Lean kindling against the log, covering the tinder
- Light the tinder from the open side
Lighting and Maintaining Your Fire
Starting the Fire
I always carry multiple fire-starting methods:
- Waterproof matches in a sealed container
- A butane lighter (more reliable than matches in wind)
- Firestarter cubes (great for wet conditions)
The Art of Fire Tending
- Start small and build gradually
- Add wood before the fire burns too low
- Keep the fire at a manageable size (no larger than 3 feet in diameter)
- Never leave a fire unattended—not even for a minute
Cooking Over an Open Flame
Essential Equipment
- Long-handled tongs and spatula
- Cast iron cookware
- Heat-resistant gloves
- A grill grate (if not provided)
Temperature Control
For the best cooking results, let your fire burn down to glowing embers before you start. Cooking over coals provides more even, controllable heat than cooking over open flames, making it easier to prepare meals without burning them.
Extinguishing Your Fire Responsibly
The Soak, Stir, and Feel Method
- Pour water over the fire (not just the flames, but all embers)
- Stir the ashes with a stick or shovel
- Feel for heat with the back of your hand
- Repeat until cold to the touch
Common Mistakes to Avoid
- Burying hot coals (they can smolder for days)
- Using sand or dirt alone (it can insulate heat)
- Leaving before the fire is completely out
Alternative Fire-Starting Methods
When Matches Fail
- Flint and Steel: Practice at home first
- Battery and Steel Wool: Touch the steel wool to both battery terminals
- Magnifying Glass: Works best on bright, sunny days
Emergency Fire Starters
- Dryer lint mixed with wax
- Cotton balls soaked in petroleum jelly
- Commercial fire starter sticks
The Responsible Fire Builder’s Creed
Building a fire connects us to thousands of generations before us who relied on this fundamental skill. But with this connection comes responsibility—to protect our wild spaces, prevent wildfires, and ensure that future generations can enjoy the same primal joy of a campfire under the stars.
Remember, a true outdoorsperson leaves no trace of their fire, only memories. The next time you’re tempted to cut corners with fire safety, ask yourself: Is the risk worth potentially destroying thousands of acres of wilderness? Your careful attention to fire safety today ensures that future campers will enjoy the same pristine wilderness we cherish now.